This phone has been configured as a company-owned asset through Apple Business Manager, ensuring a consistent user experience and simplified setup process. It is also linked to your Microsoft account for seamless access to with your work email address.
TABLE OF CONTENTS
- Step 1: Transfer the SIM card from your old phone
- Step 2: Turn on the phone
- Step 3: Complete the setup process.
- Step 4: Install additional applications.
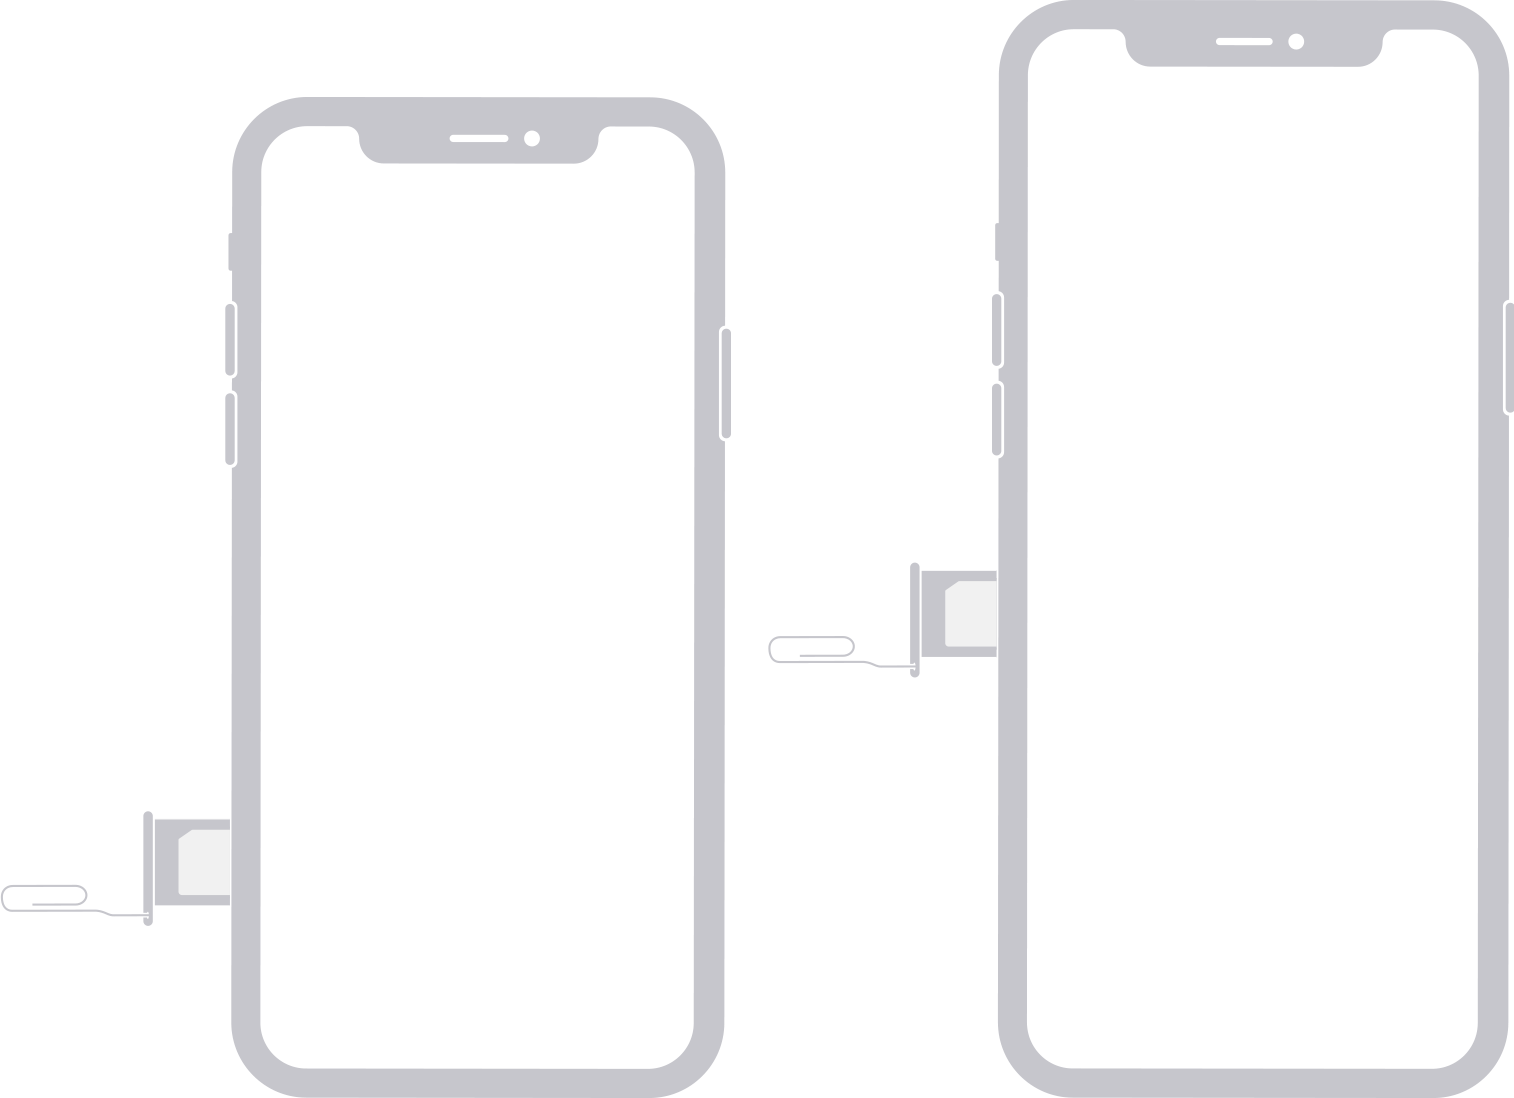
Step 1: Transfer the SIM card from your old phone
- Locate the SIM ejector tool which should be included in the box of your new phone. If this is missing or has been lost you can also use a pin or paper clip.
- Eject the SIM tray from your old phone and remove the SIM card
- Open the case on the new device
- Use the ejector tool to remove the SIM tray
- Insert the SIM card - it will only go in one way
- Reinsert the tray into the phone
- Reinsert the phone into the case
Step 2: Turn on the phone
Press and hold the power button until the Apple logo appears.
The power button usually is located on the right side of the phone.
Step 3: Complete the setup process.
Follow the prompts on screen to set up your phone. Please note the following:
Remote Management:
When this screen appears you must select the blue "Enroll this iPhone" button. This will download our company profile and default applications to your phone. If you do not click this button you will not have access to any applications.

Sign In:
On the sign in screen you will use the applicable option below:
Service Mobiles - Either use the service email address (ending in .com.au) or a staff member e.g. Coordinator's work email address (ending in @theircare.edu.au). The system is linked to our identity management platform via Microsoft so will have the same password as your email account.
Other phones - Use your work email address ending in @theircare.edu.au. The password will be the same as you use to log into your work email account.
PIN:
For service mobiles the PIN must be set as 150317. This ensures that if the Coordinator is away or another a staff member needs to use the phone in an emergency they can access it.
For other users e.g. AMs it is OK to either use the PIN above or set your own.
Face ID:
Service mobiles - Face ID should never be set up on a service mobile as this is a shared device.
Other users e.g. AMs - As you are the only user of this device you can choose to set up Face ID.
Step 4: Install additional applications.
When setting up your phone, the system will automatically install the Office suite (Outlook, Teams, Word, OneDrive etc. ) on the device. Additional applications can only be installed through the Company Portal. This includes a selection of pre-approved application including state based emergency services and tools for Area Managers.
You will be unable to install applications directly from the Apple App Store.
Please follow these knowledge base articles for instructions:
What is Company Portal and how do I set it up?
Downloading applications from the Company Portal

Was this article helpful?
That’s Great!
Thank you for your feedback
Sorry! We couldn't be helpful
Thank you for your feedback
Feedback sent
We appreciate your effort and will try to fix the article